Ledger

ETH Staking via Ledger + Luganodes

Step-by-Step Staking Process

Video Guide

Guide

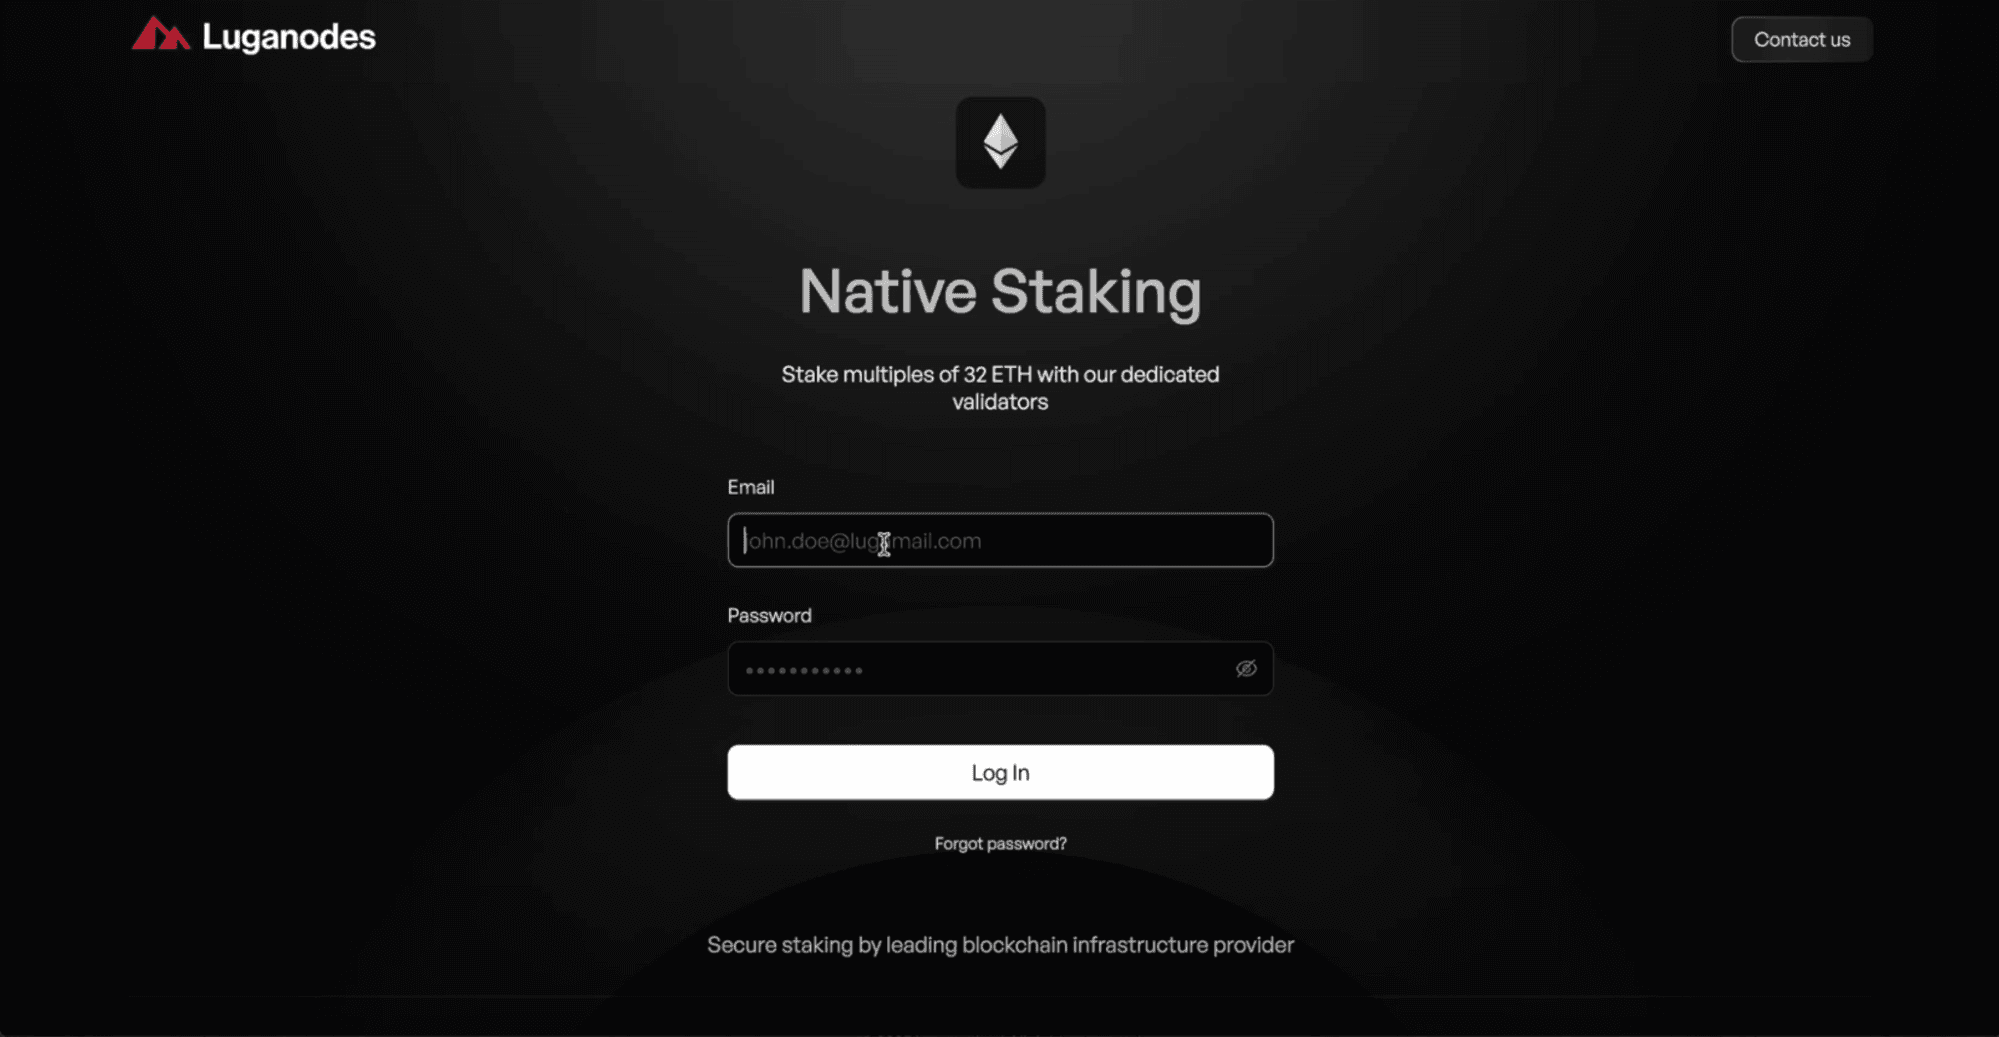
Step 1: Access and Log In

image8.png
  • The interface includes three main sections: Staking, Portfolio, and FAQs, easily accessible via the pill menu.

image1.png

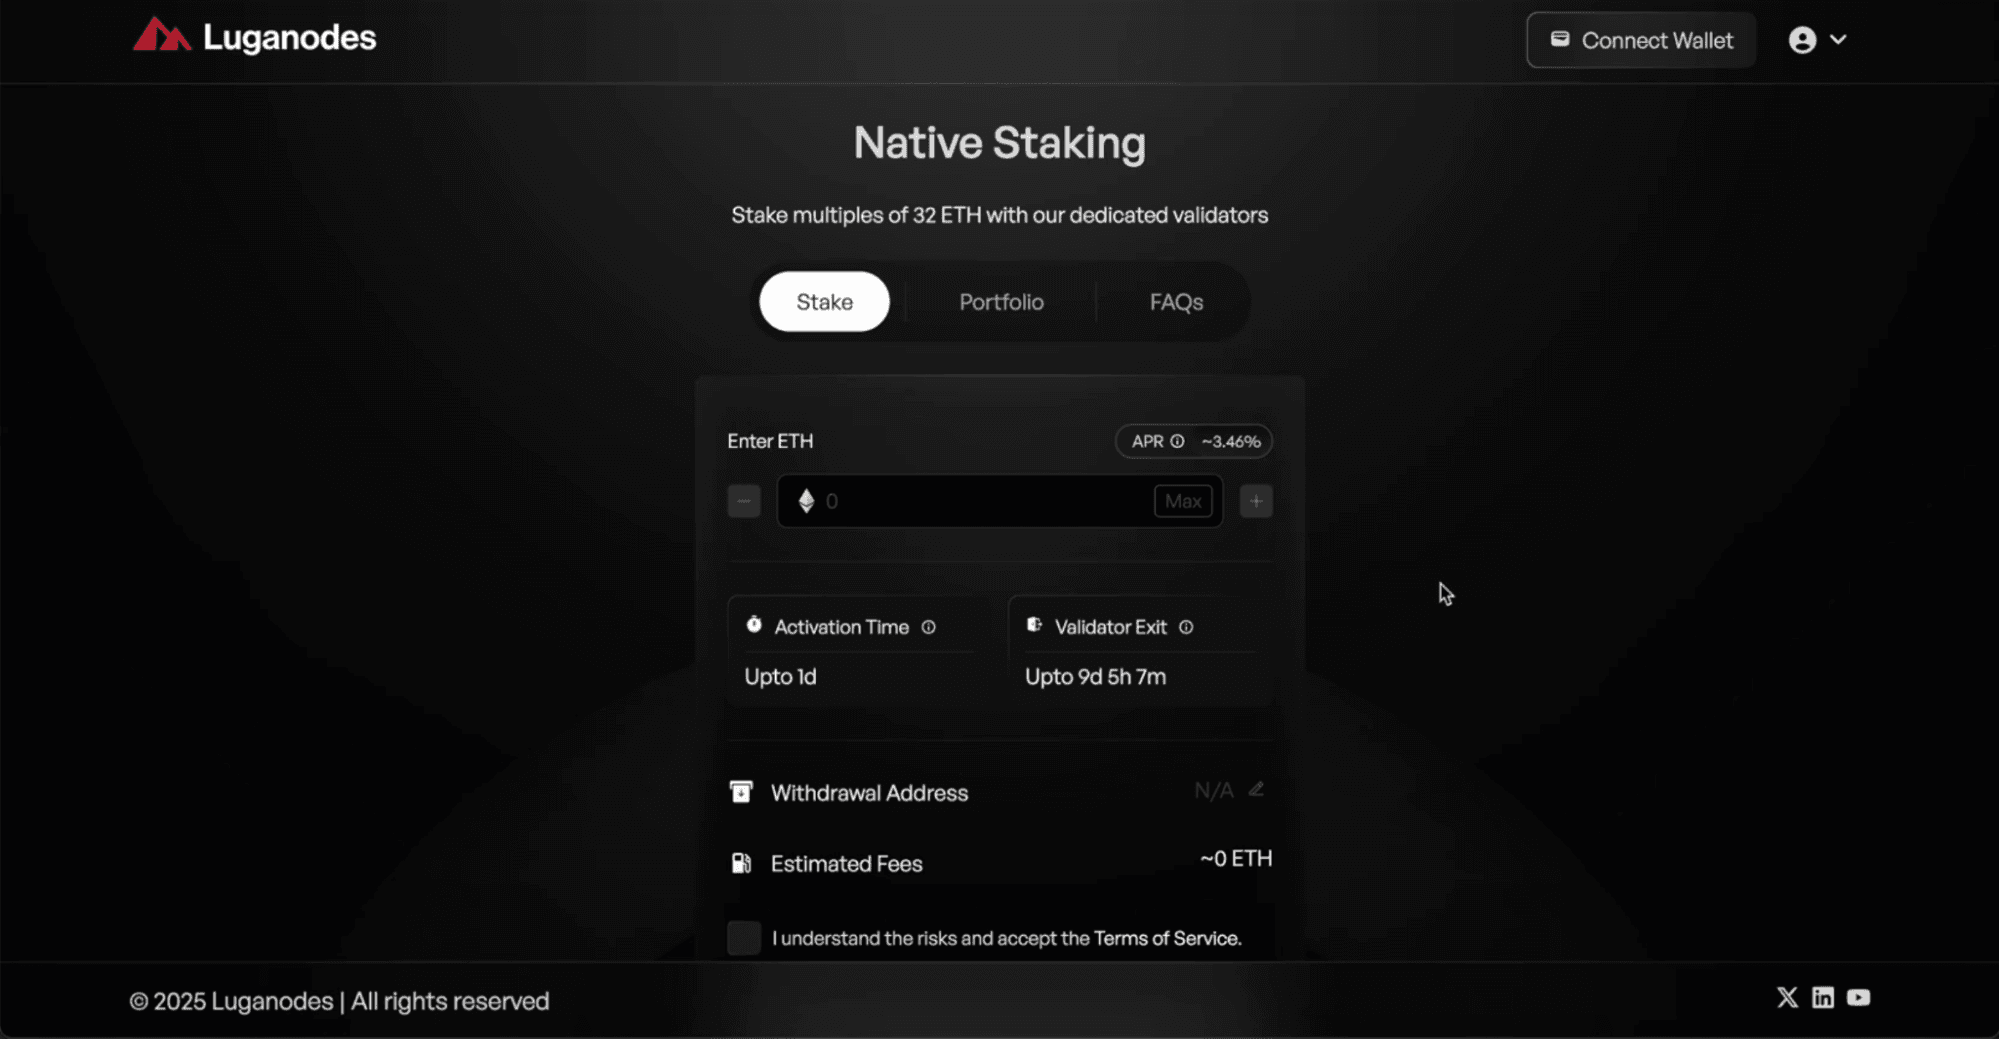
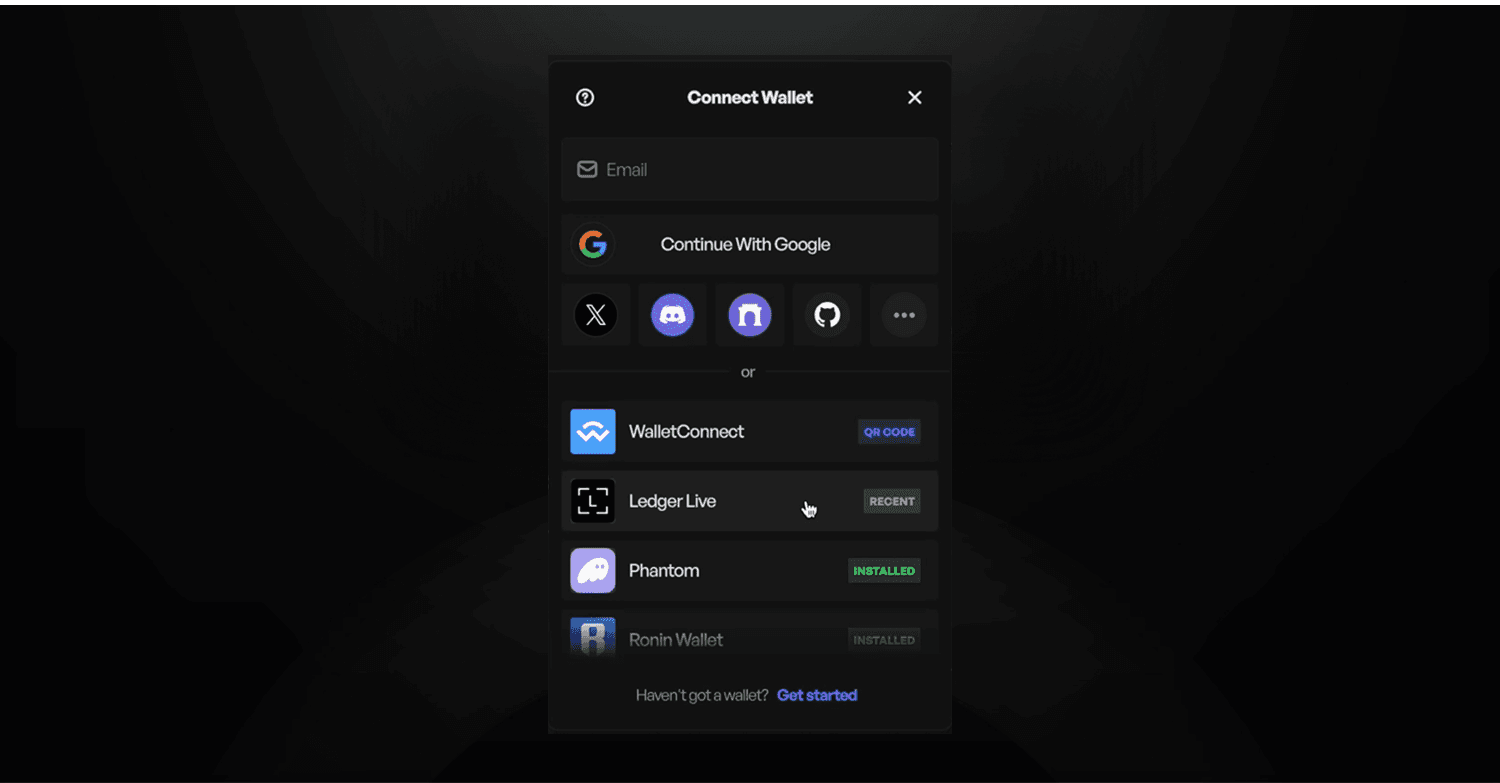
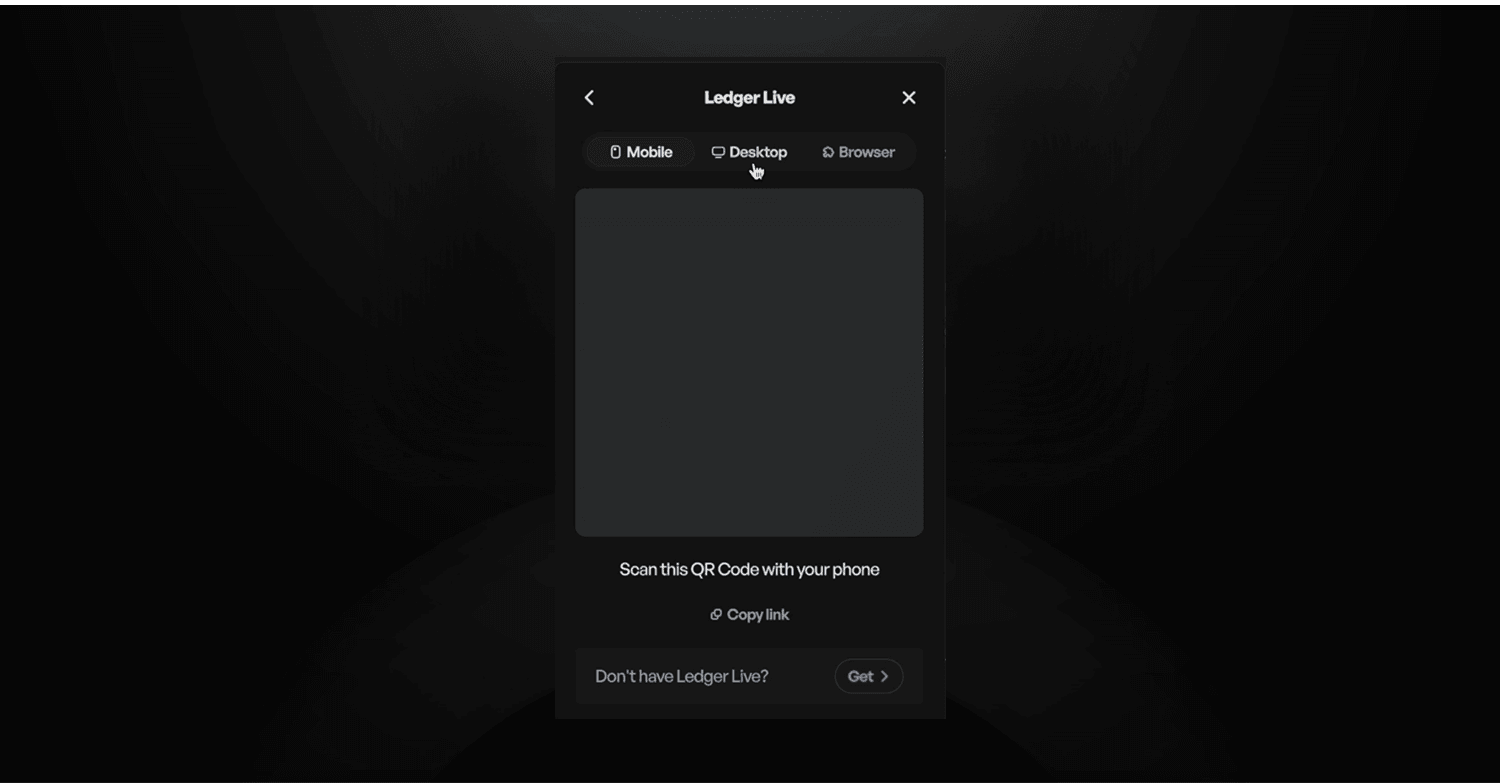
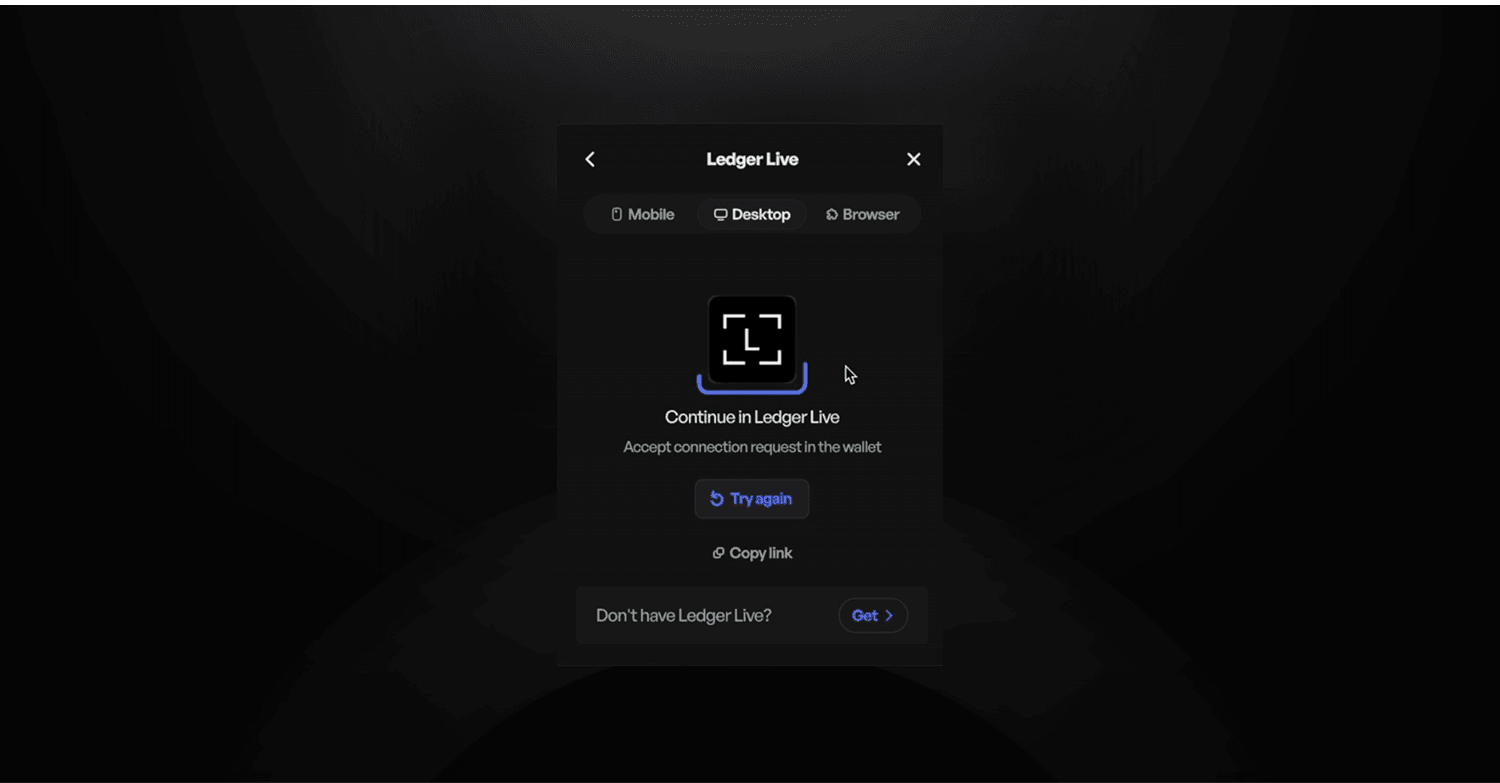
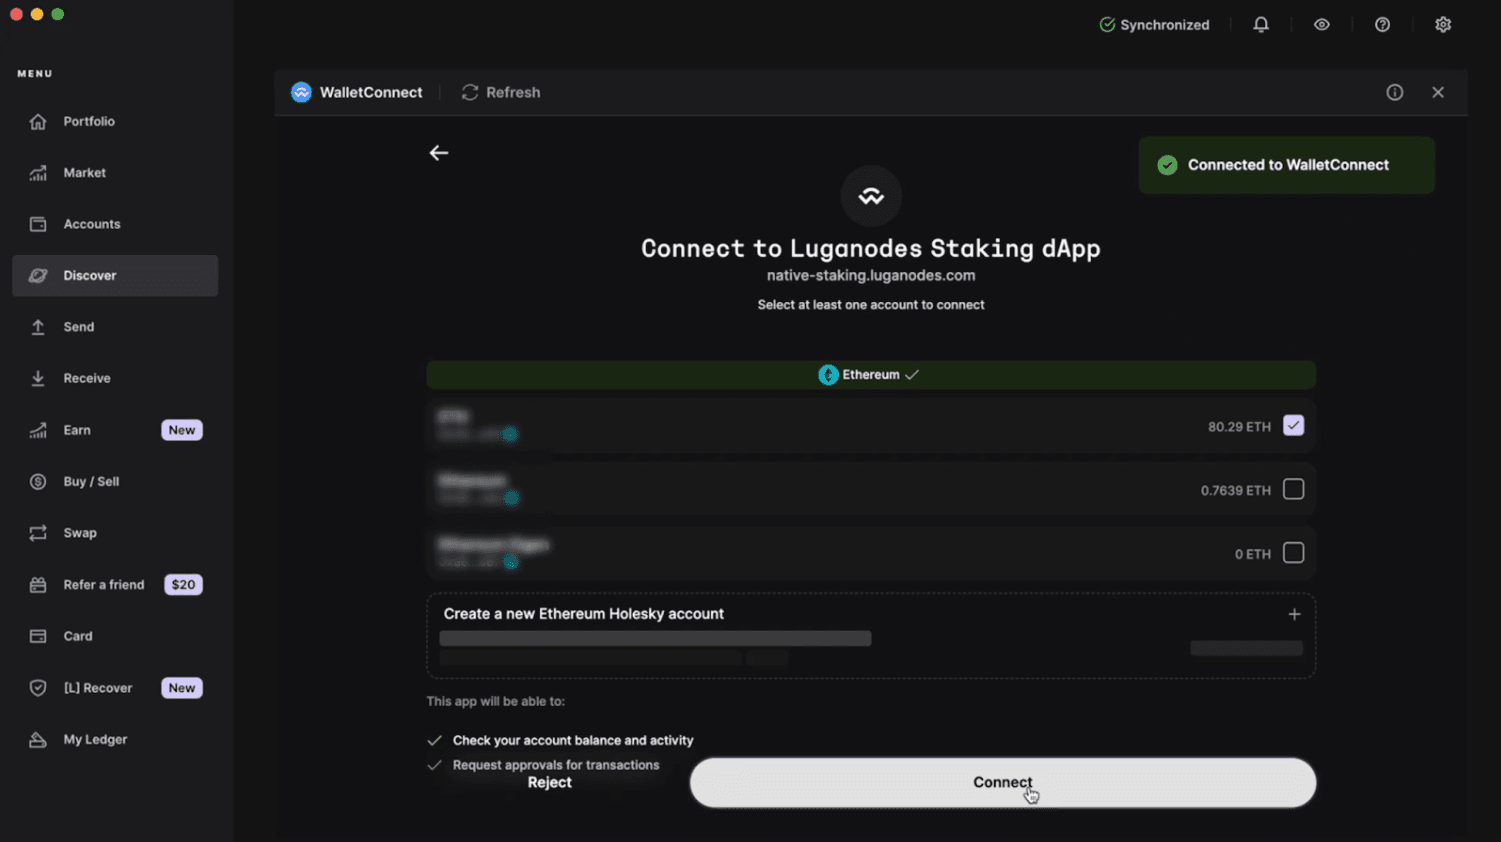
Step 2: Connect Your Wallet
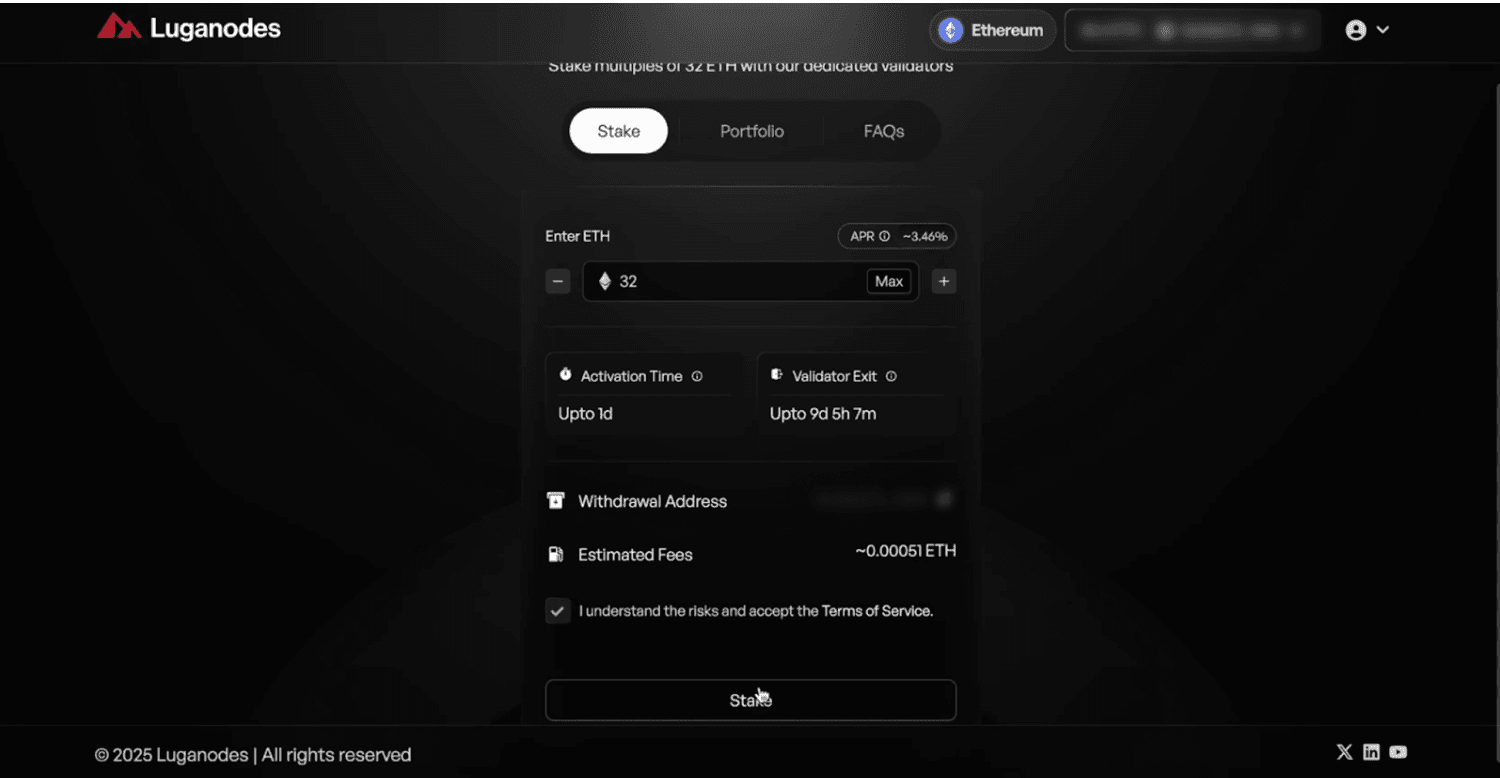
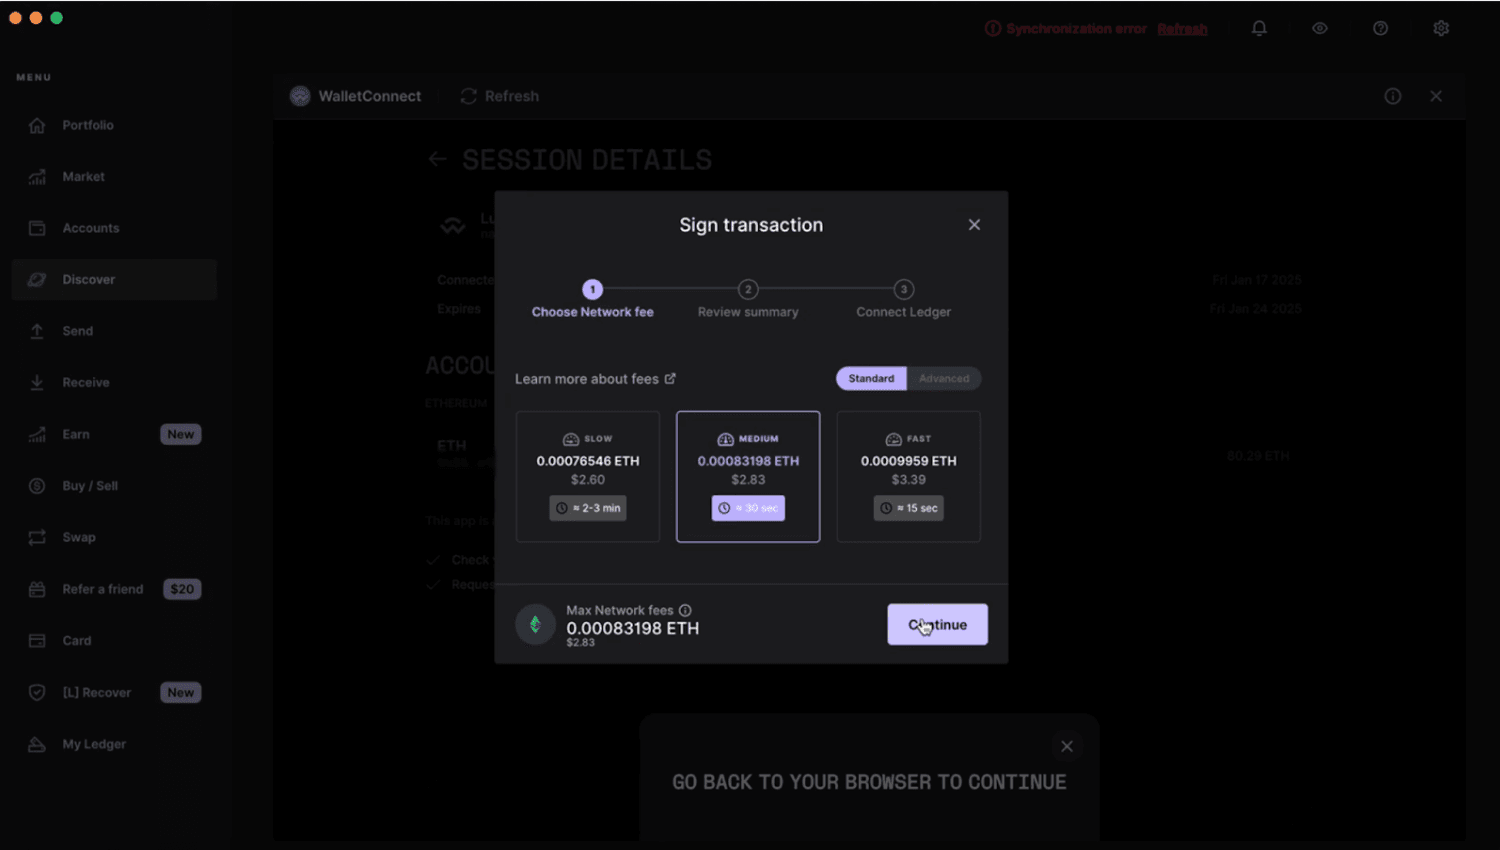
  • Click the Connect Wallet button in the top-right corner. Select your preferred wallet. In this guide, we’ll demonstrate using the Ledger Wallet method.

Frame 1321321373.png
Frame 1321321372.png
Frame 1321321374.png
  • Choose Ledger Live and follow the on-screen instructions to establish a connection. You can select from desktop, mobile, or browser options. Click on “Connect” in the Ledger Live app. After successfully connecting, proceed to the staking process.

Frame 1321321371.png

Step 3: Stake ETH

  • Navigate to the Enter ETH menu. Select the amount you wish to stake in multiples of 32 ETH. The interface will display important details, including the activation time, validator exit time, and estimated APR.

  • Carefully review the withdrawal address and fees accrued. Once satisfied, check the box to accept the terms and conditions. Click on Stake to initiate the staking process.

Frame 1321321370.png

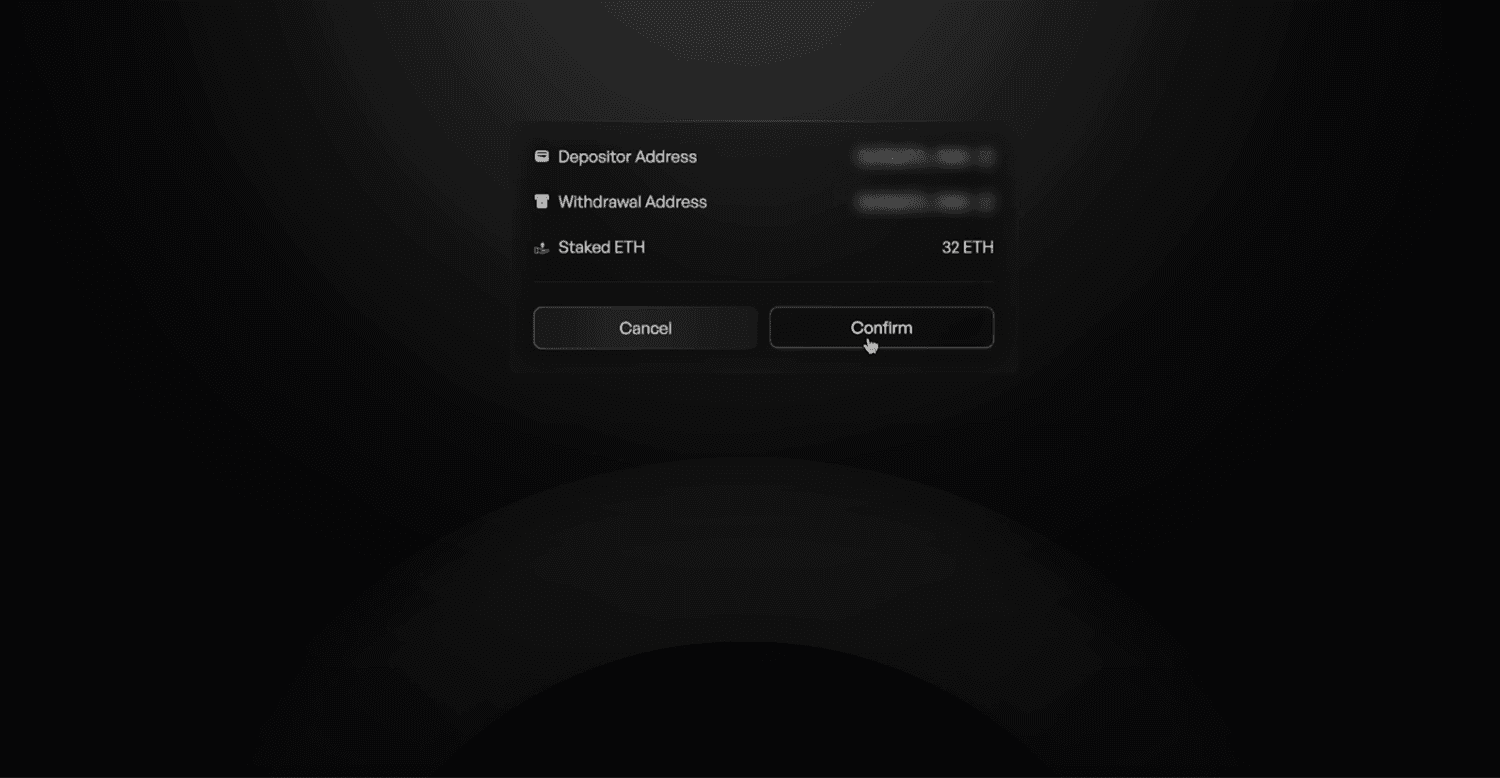
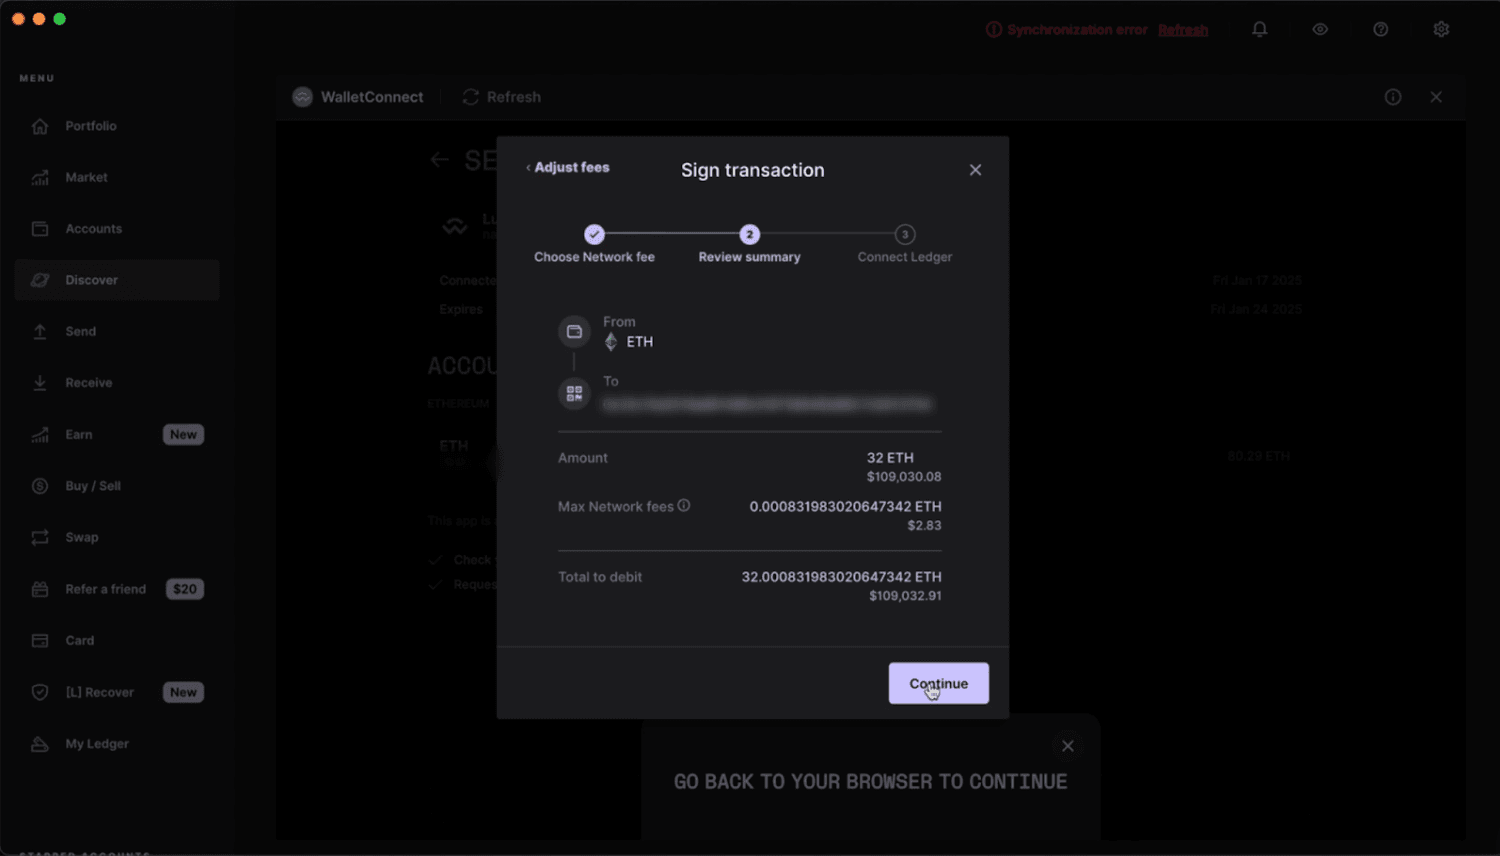
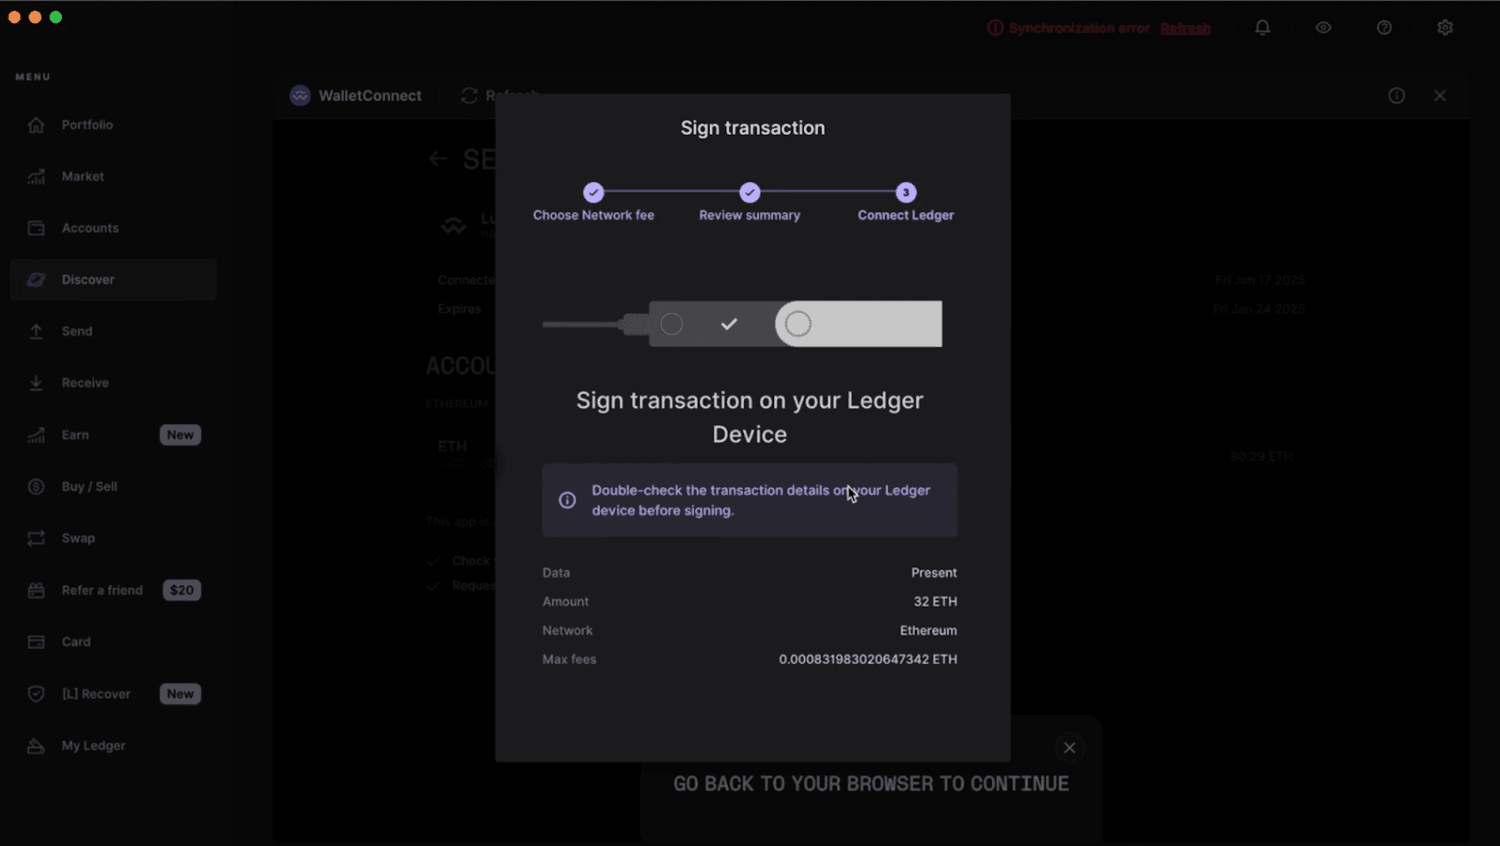
Step 4: Confirm the Transaction

  • A confirmation prompt will appear. Click Confirm to proceed.

Frame 1321321365.png
  • You’ll be redirected to Ledger Live to sign the transaction. Choose the network fee, confirm the details, and sign the transaction on your Ledger device. The transaction will then be processed.

Frame 1321321366.png
Frame 1321321367.png
Frame 1321321368.png

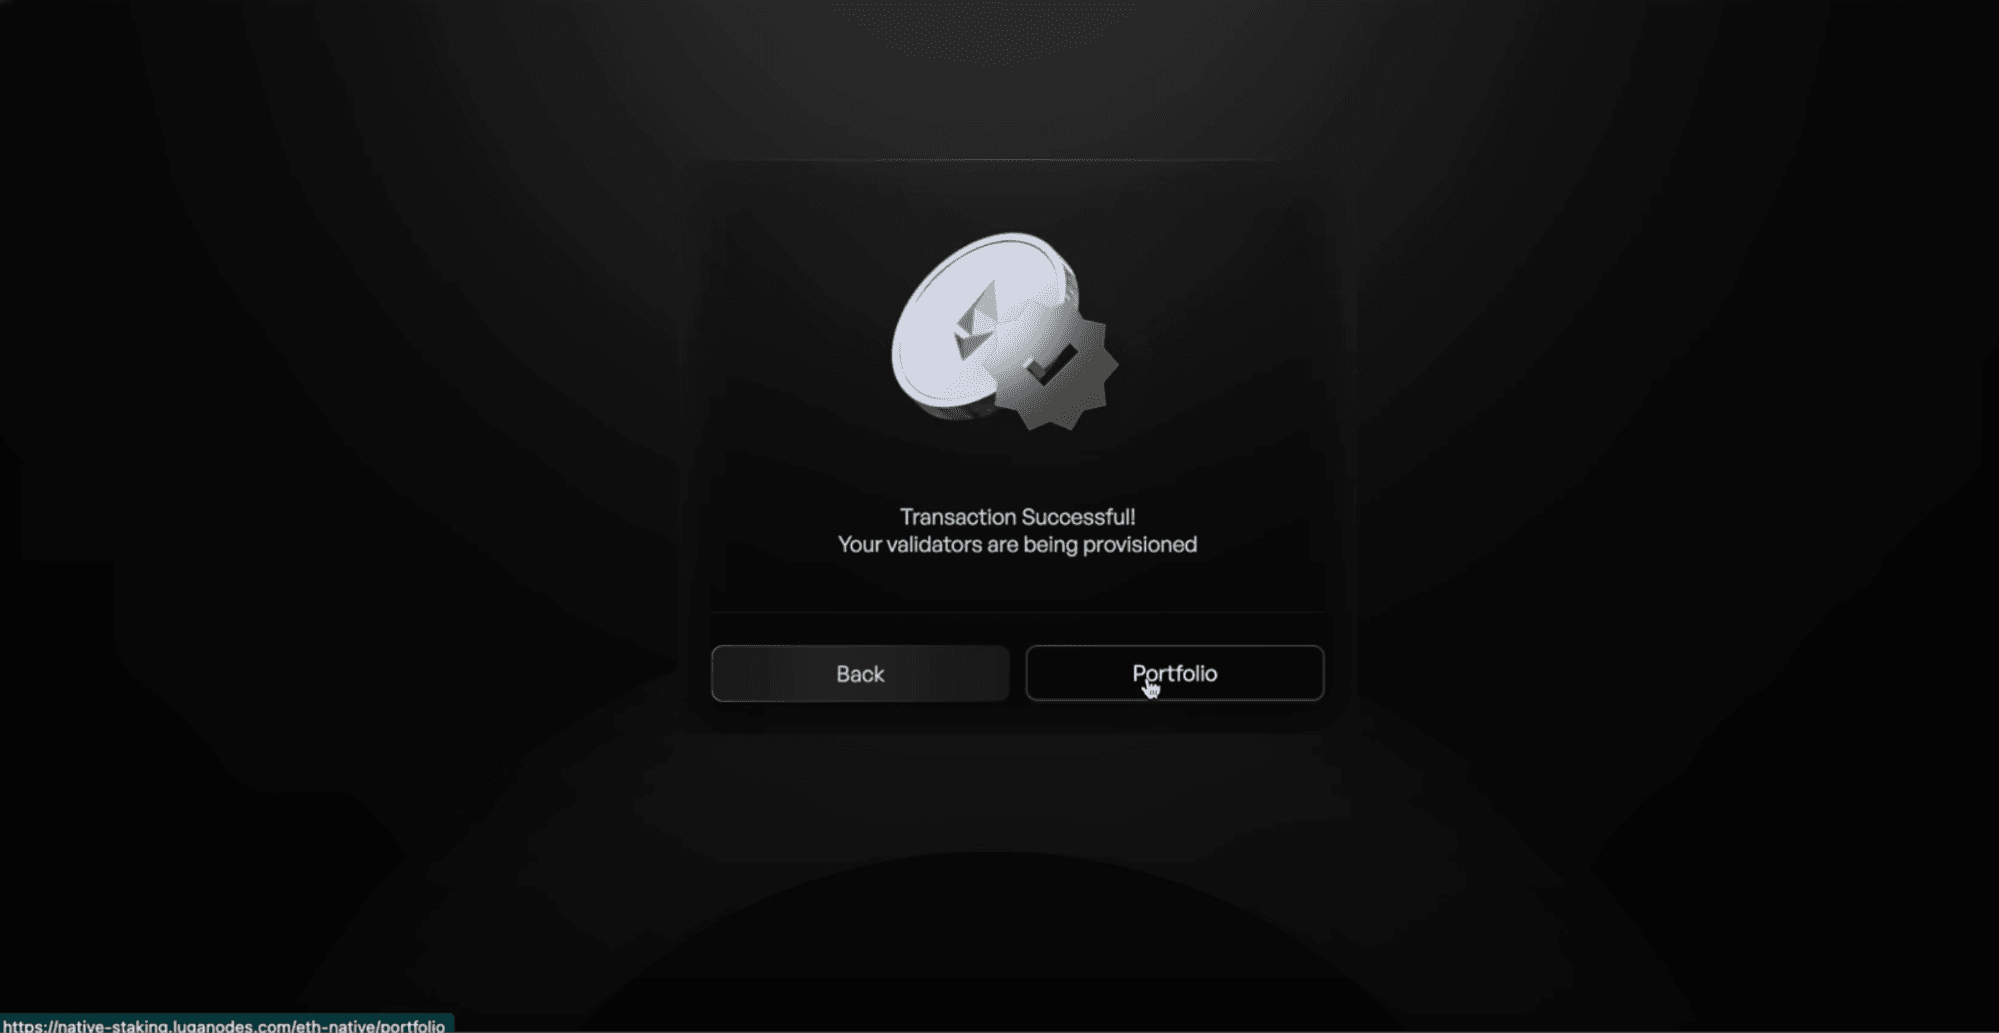
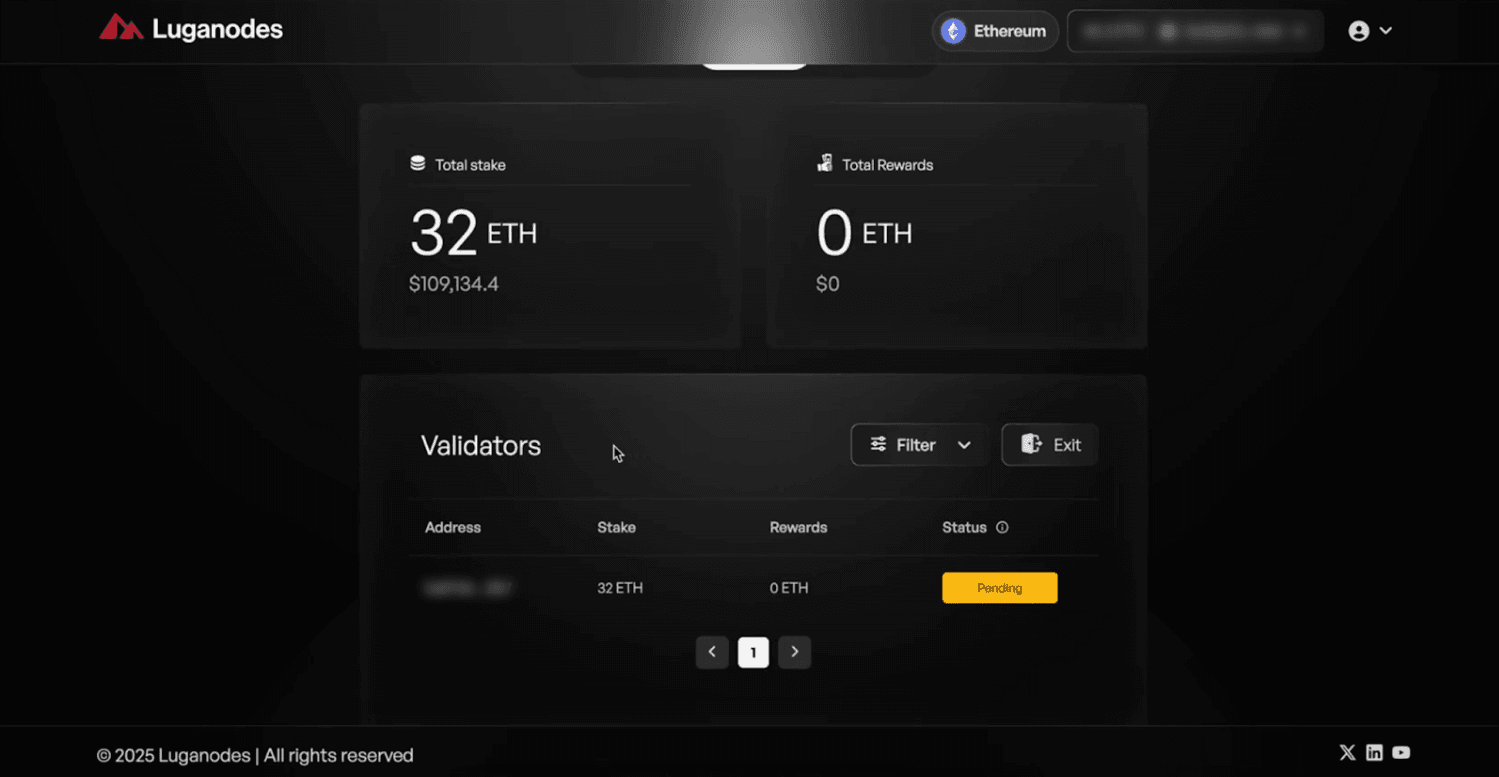
Step 5: Verify and Track

  • After the transaction is sent, the staking interface will display a success message. To verify your stake, click on the Portfolio button, where you’ll see your staked amount and status.

image12.png
Frame 1321321369.png

Last updated